No products in the cart.
April 12, 2023
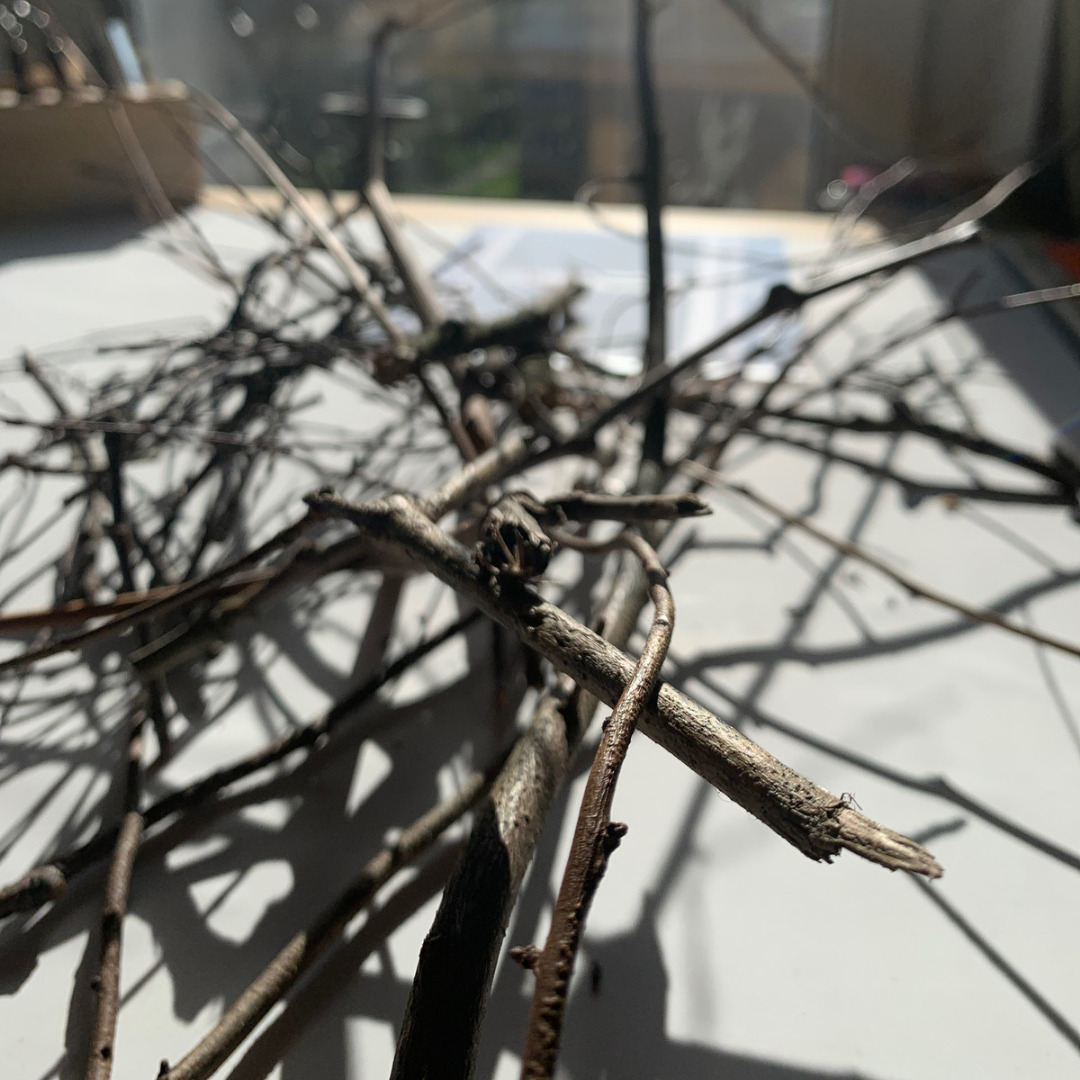
Now that spring beckons, Stefan and I have resumed our morning walks in the woods. Currently, there are still many broken twigs and branches lying on the paths. I like their gnarled shapes, so I took a closer look and collected a few.
Back home, I took a closer look at my collection and thought about what I could do with it. The idea of making mark making tools out of twigs, leaves and stones, which I could then use for drawing and painting, had been in the air for some time. No sooner said than done - the result is some unique tools that I have tested extensively.
Before I tell more about my experience with DIY mark making tools, I'd like to briefly discuss the term mark making. What is it anyway?
The term originated in abstract art. It's about focusing on the act of painting itself and the physical marks left on the canvas. It could be translated as: "setting signs" or "leaving traces". That's what it's all about. Every time you touch the canvas with your painting tool, you leave a trace.
These traces or marks are meant to create a certain mood or atmosphere. They can be lines, dots, scratches, shading or other shapes.
No special tools are required. Marks can be made with a pencil or ballpoint pen, as well as with a found feather. Marks can be controlled or loose and spontaneous, gestural or precise. It all depends on what you want to express. For me, it's about expressing emotions, telling stories.
I want to break familiar patterns. When you stop holding the pen as if you want to write with it, it feels completely different in your hand, not as controlled. It makes very different lines. Aha, my brush has a style too, I can "paint" with it too! What happens when I spray water on the wet paint, hold the canvas upright and let the paint run?
Like this! I like it when my workflow cannot be planned down to the last detail. So I try to create depth, dimensionality and dynamics in my paintings. Using unfamiliar or misappropriated materials and tools can be very helpful, and I've been doing that for years. Our cake server is no longer in the kitchen drawer, but in my studio.
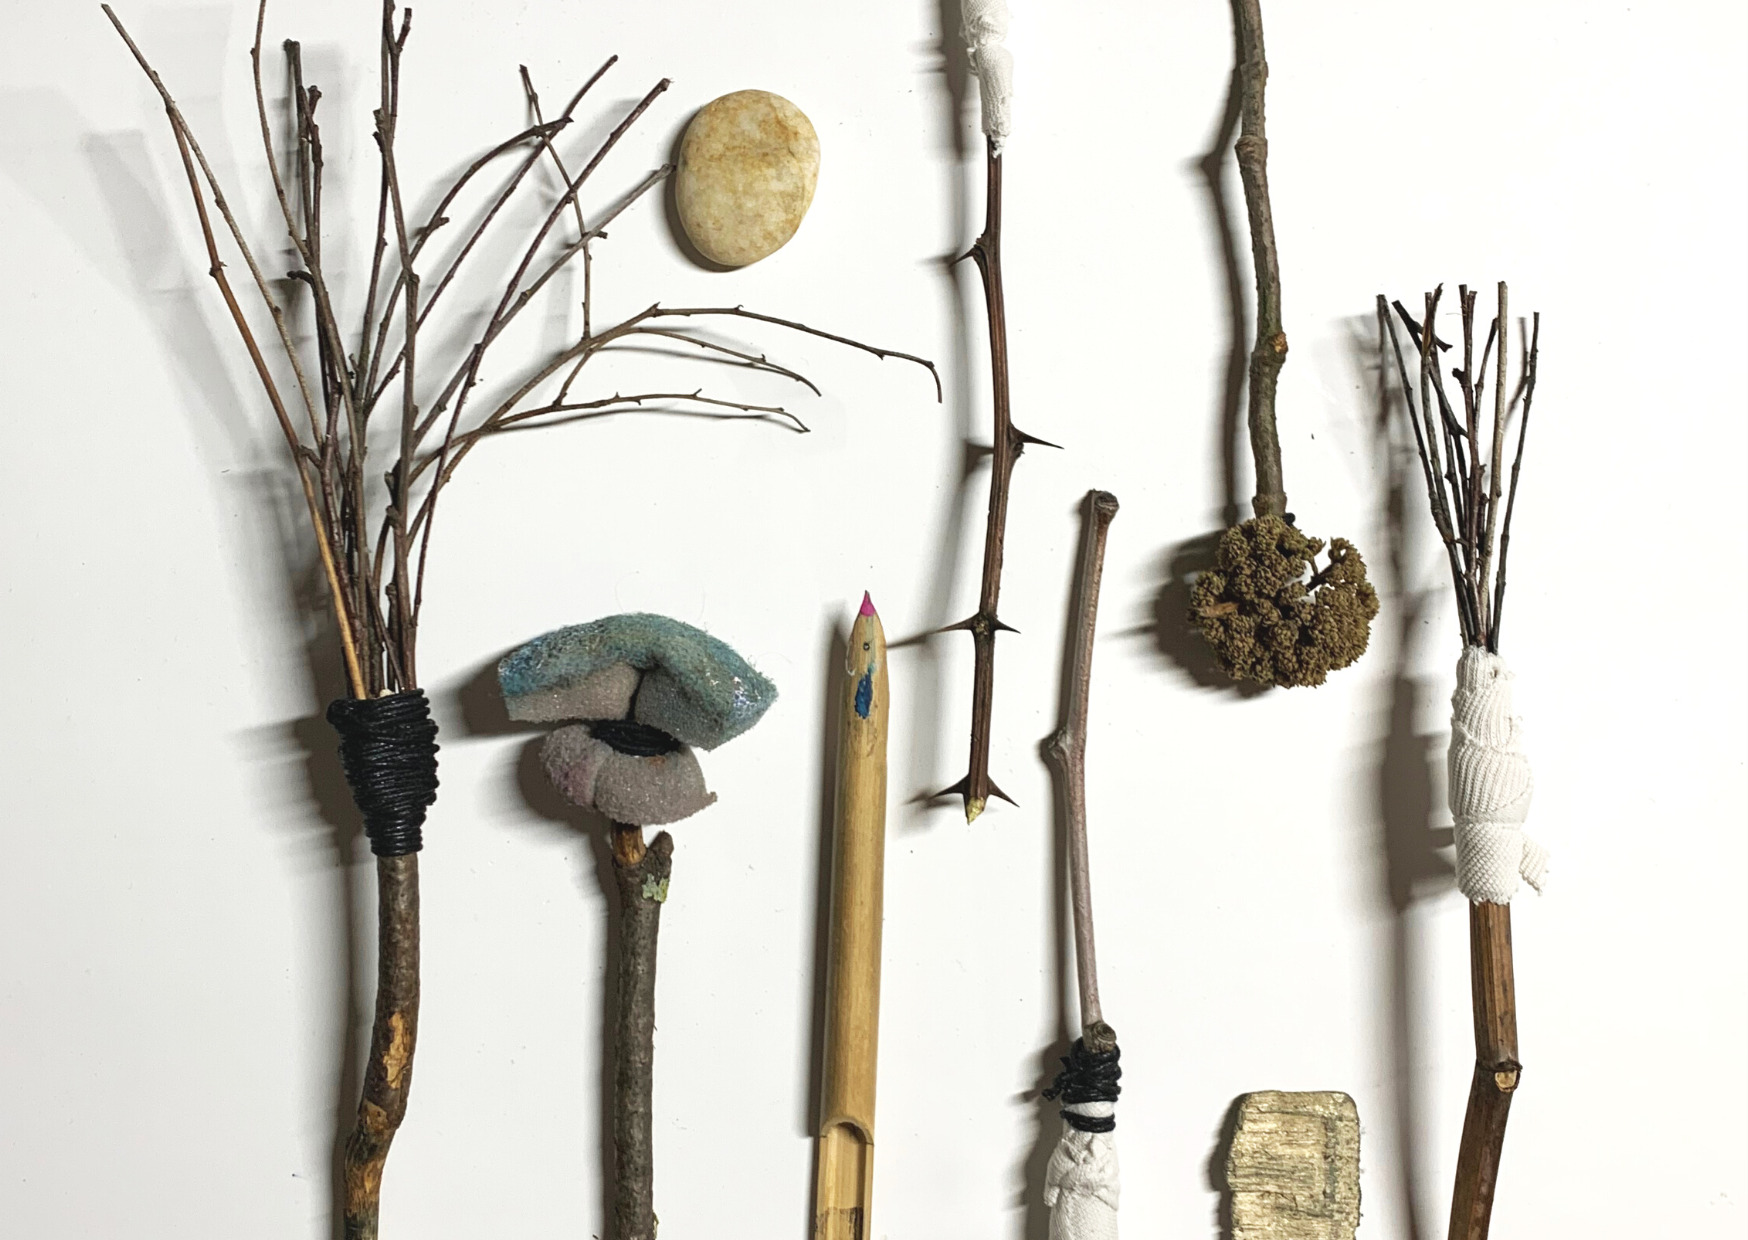
So first I surveyed my haul. I had lots of twigs and smaller branches, a very nice pebble - I wonder where that came from? Some mulch from the side of the path, a nice broken umbel, and a few thorny twigs. I also rummaged through my stash for things I could use, and settled on an old sponge and a bamboo quill.

Now it could actually start. But first I have to get some glue, rubber bands, scraps of fabric, scissors and a craft knife, and various ribbons and cords.
I wanted to make a kind of "witches broom" out of the branches. This was partly quite tricky. I took a smaller branch and glued twigs around it, which I then fixed with string or scraps of fabric. Other branches I just added a handle to and attached the sponge to. Some materials I just left as they were, and the bamboo keel I carved more pointed.
My fingers were rubbery by the end of the day, but I was not dissatisfied with the results. The combination of natural materials and my own hands resulted in unique and individual tools that I would not find in any art store.

If you would like to make your own mark making tools, I suggest that you begin by gathering a selection of materials that you enjoy. Be open to the beauty and variety of nature and let your creativity guide you. Then combine the materials as you like and decorate with glue, fabric scraps, or ribbons to create unique mark making tools.
But making the tools was only half the fun. Now it was time for testing. I realized that I could achieve incredibly versatile results with these simple tools.
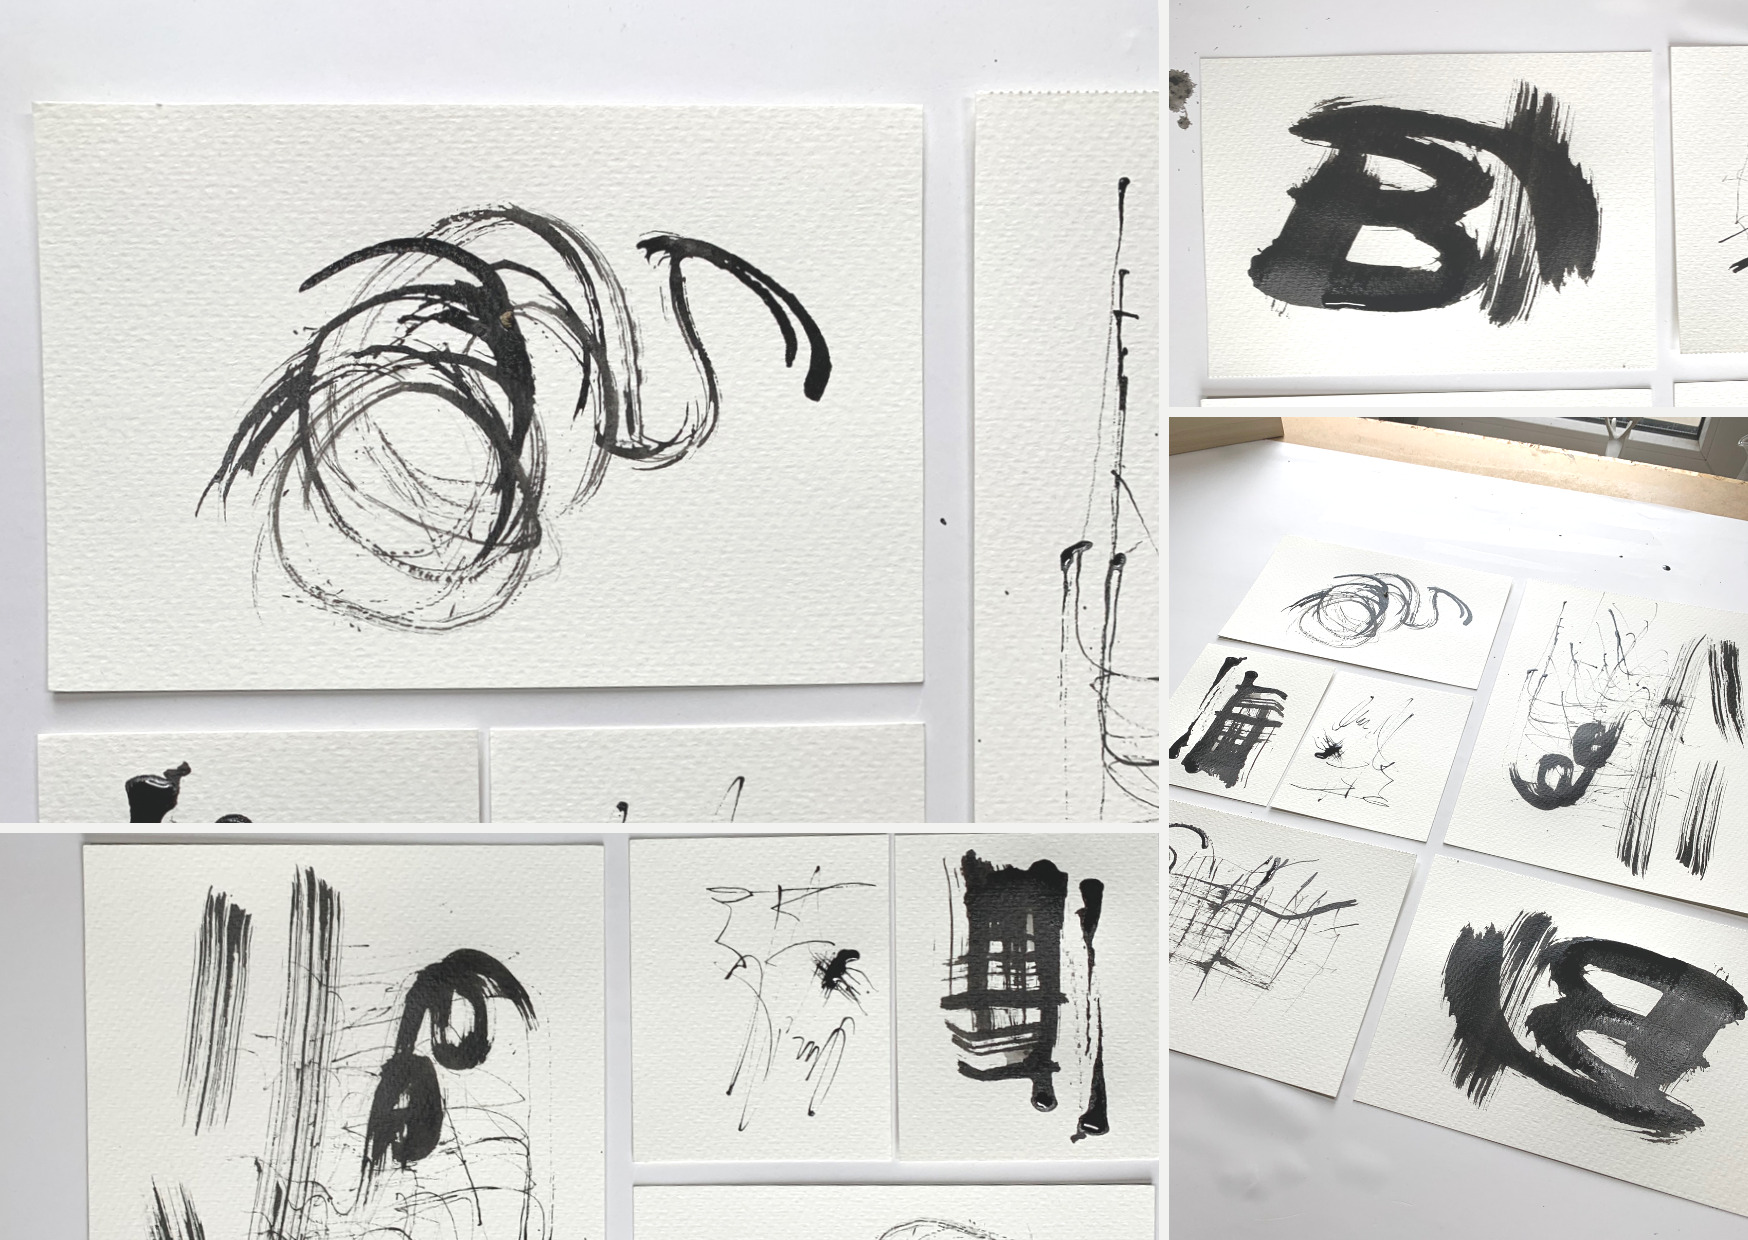
However, not all the mark making tools worked well. The thorns, for example, were not at all suitable for applying ink. However, when I pulled them through the ink, I found the marks quite interesting. Speaking of ink, I used Sennelier India ink and 300 g coarse textured watercolor paper from Römerturm.
I also did not like the marks left by the branches, but on a larger canvas they could work well. Well, I liked the traces left by the sponge, so really nice and rich. You can also vary the amount of paint/ink.
I also liked the traces of the umbel, but it crumbled on the first try. It remains to be seen how long I can use it. The stone marks are not very variable, but nice. The mulch works very well. Overall, nice, interesting and unexpected patterns and textures came out. I had a lot of fun experimenting and will certainly use one or the other tool in my art.

Making and using my own mark making tools has been really fun and inspiring. I've known for a long time that you can make great tools out of simple materials and objects found in everyday life - and then use them to create interesting textures, patterns and textures. Still, it was nice to be reminded.
I tested the various mark making tools extensively and was surprised that the results were often quite different from what I expected. I will definitely continue to use my homemade tools. And I will continue to keep my eyes open on my walks. For possible art materials, but mostly for the beauty, tranquility and inspiration that nature gives me.
Do you have any tips for me? I would love to hear your ideas.
Join the newsletter now
and not miss a thing
Get exclusive insights into my creative processes, learn the stories behind my artwork
and receive invitations to my exhibitions and events.
To say thank you, I'll give you 10% off your first purchase.